WE'RE TRYING TO BUILD OUR PERFECT HOME. IT MAY BE A PASSIVE HOUSE. IT MIGHT BE LEED CERTIFIED. IT WILL HOPEFULLY BE WORTHWHILE, SO FOLLOW OUR JOURNEY.
CURRENT PHASE: DESIGN
Planning a Home Server Room and Smart Home
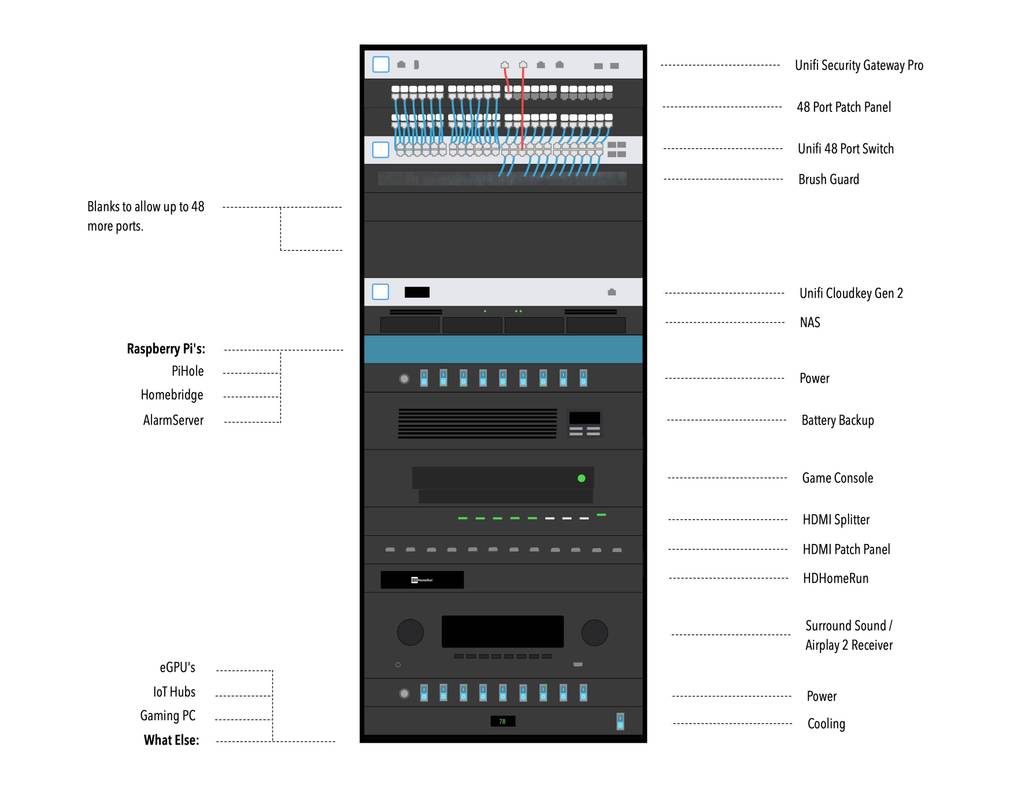
When considering the wires that will need to run through the house, it’s helpful to envision the dream end product. A rough image of that dream homelab is outlined in this post. However, before proceeding, keep two things in mind. First, I’m not a network engineer, so it’s important not to blindly follow my directions. Second, much of this may be considered overkill and can be built up gradually. This project is as much a hobby as it is practical, so I eventually plan to assess the equipment I already have and explore different setups with cost in mind.
Energy Efficient Wall Framing
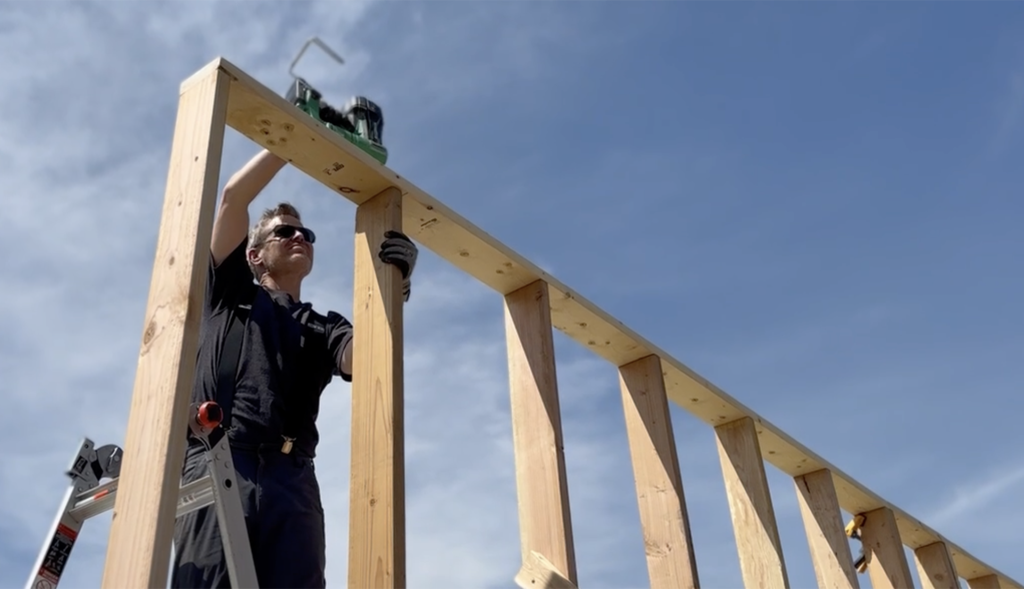
Framing feels like the true beginning of the build since we’re on our own. No contractor will be helping us out for awhile, so it’s on us to make a building that can stand on it’s own. More importantly, energy efficient details like 3 stud corners, insulated headers and 24" spacing will be a test run for us to see if we like them enough to use on the main house.
An Upgraded Workshop Foundation
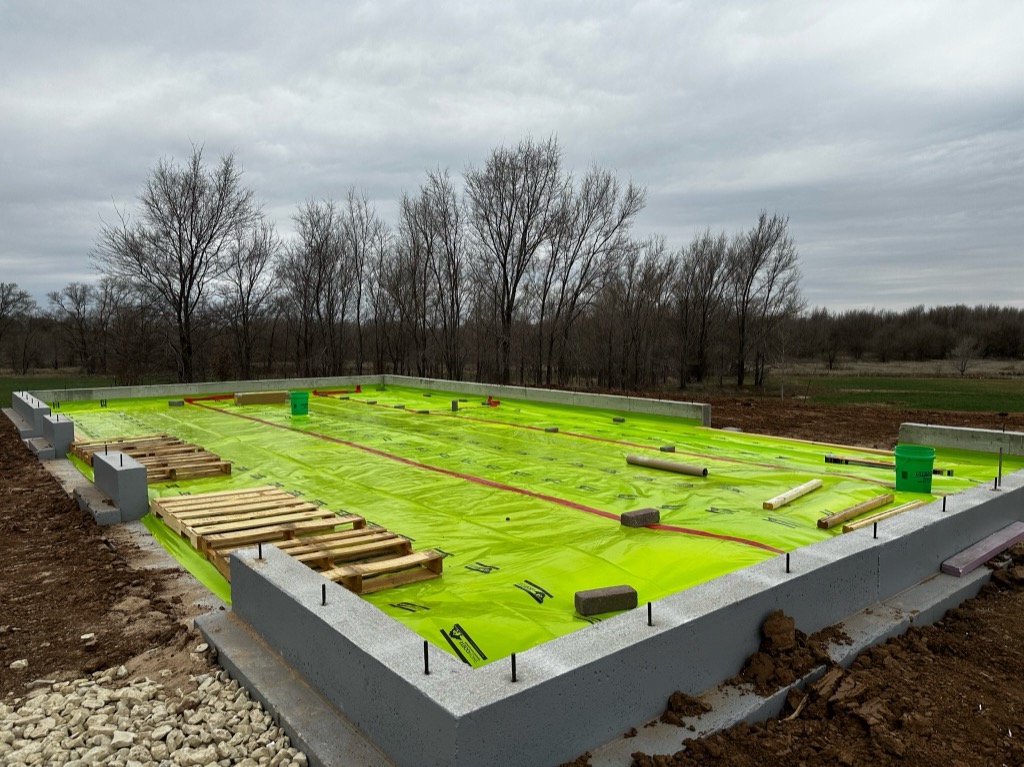
Exciting times! We’re now ready to begin working on the foundation for the workshop. This will be our first time working with Stego, Polyguard, and under slab insulation. Even though it’s a sort of trial run for the main house, we’re aiming to hit close to passive standards with this build. The plan is to catch any hiccups and learn from our mistakes now so we can step up our game for the big build. To get started, we had to have plans in hand.
LOOKING FOR SOMETHING ELSE?
This site documents our attempts to create a dream home. If you enjoy this content, you may want to check out our metrics, construction notes, and progress photos. While you're looking around, you might as well subscribe to our RSS, Mastodon, Twitter, Instagram and YouTube feeds. Or, see if these related posts catch your attention.


