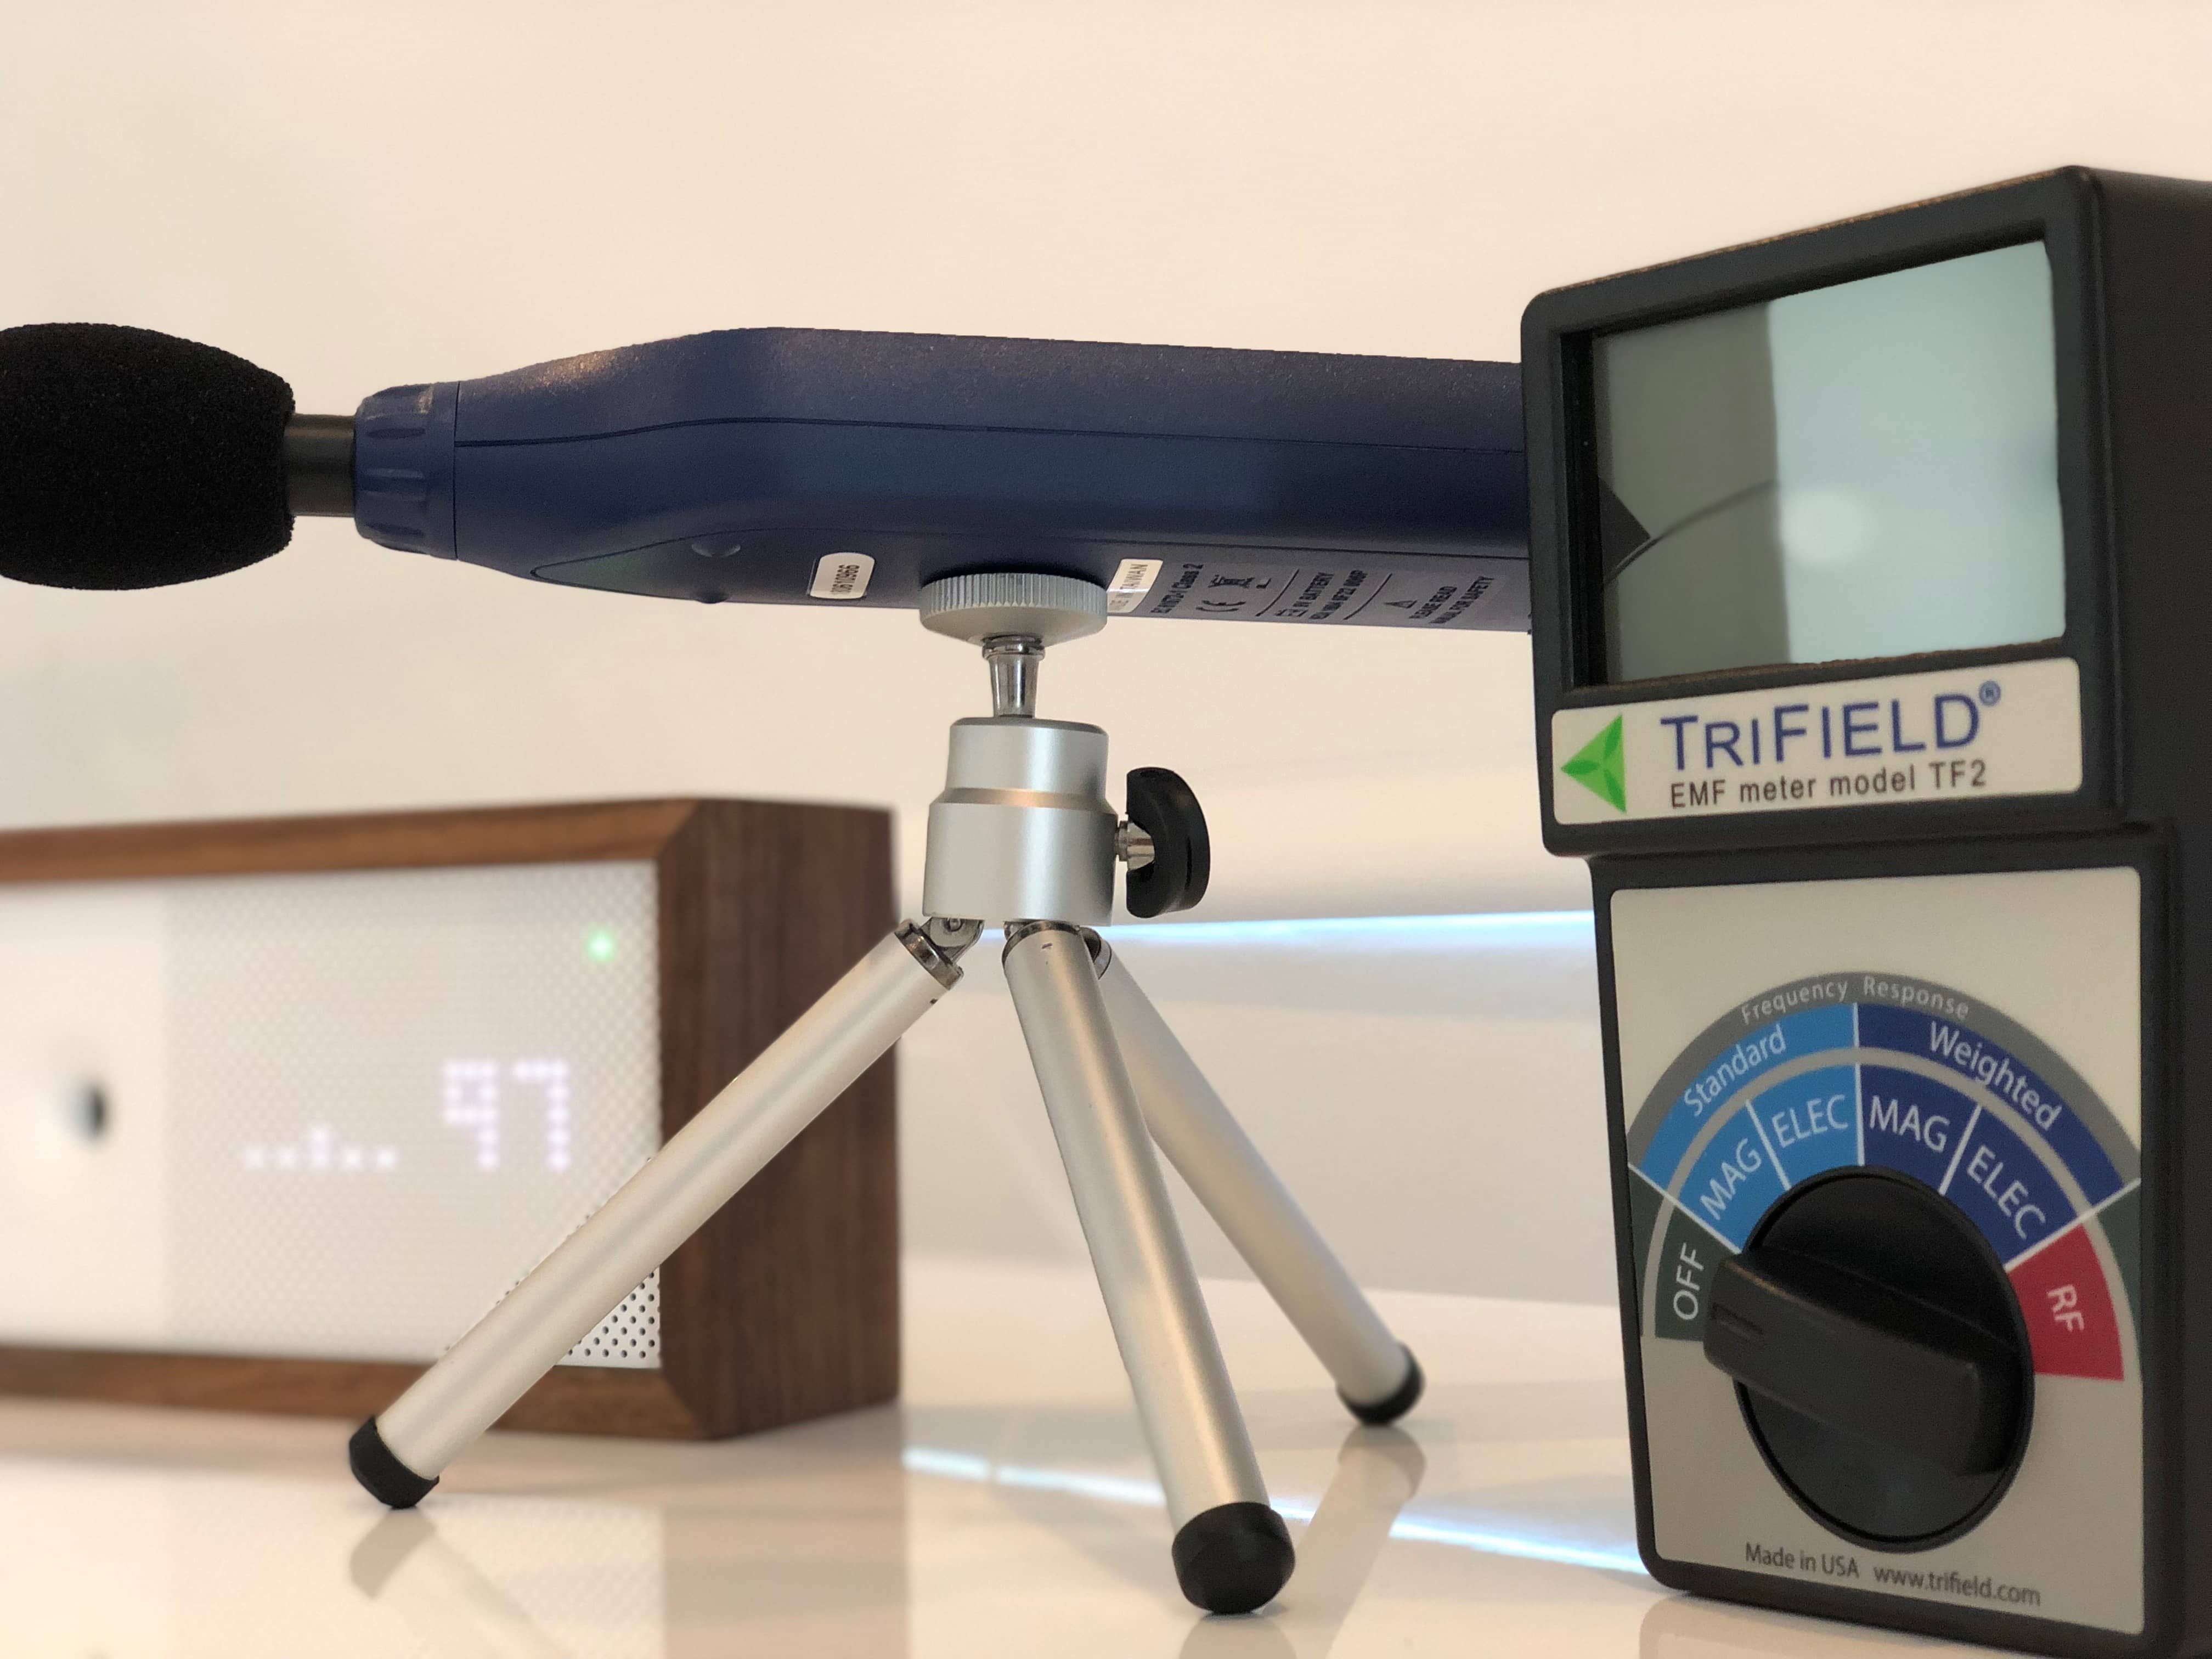
As we think about the metrics we would like to measure and improve on, it helps to get a baseline from our current environment. We may do a professional audit when the new house is complete, but for now we’re going to save money and use readily available tools to get ballpark estimates. For air quality we’ll be using Awair. For sound, REED R8060. For EMF, Trifield TF2. Radon and air exchange are not relevant or cannot be measured in our current house. So, with that in mind, we’ll measure our current block house, a wood house nearby, and a brick Kansas house which sits on the land we’re looking to build on.
Air Quality
In general, all of our air quality concerns should be taken care of by having a tight house with proper, filtered ventilation. ERV’s can handle MERV-13 filters, which will take care of fine particles and allergens. Humidity and temperature should stay constant. CO₂ and chemicals will always be in check with constant air exchange in effect. In fact, radon is the only concern that requires a different approach, which we’ll deal with later on. So, the steps are simple: install an ERV and then verify it is working correctly.
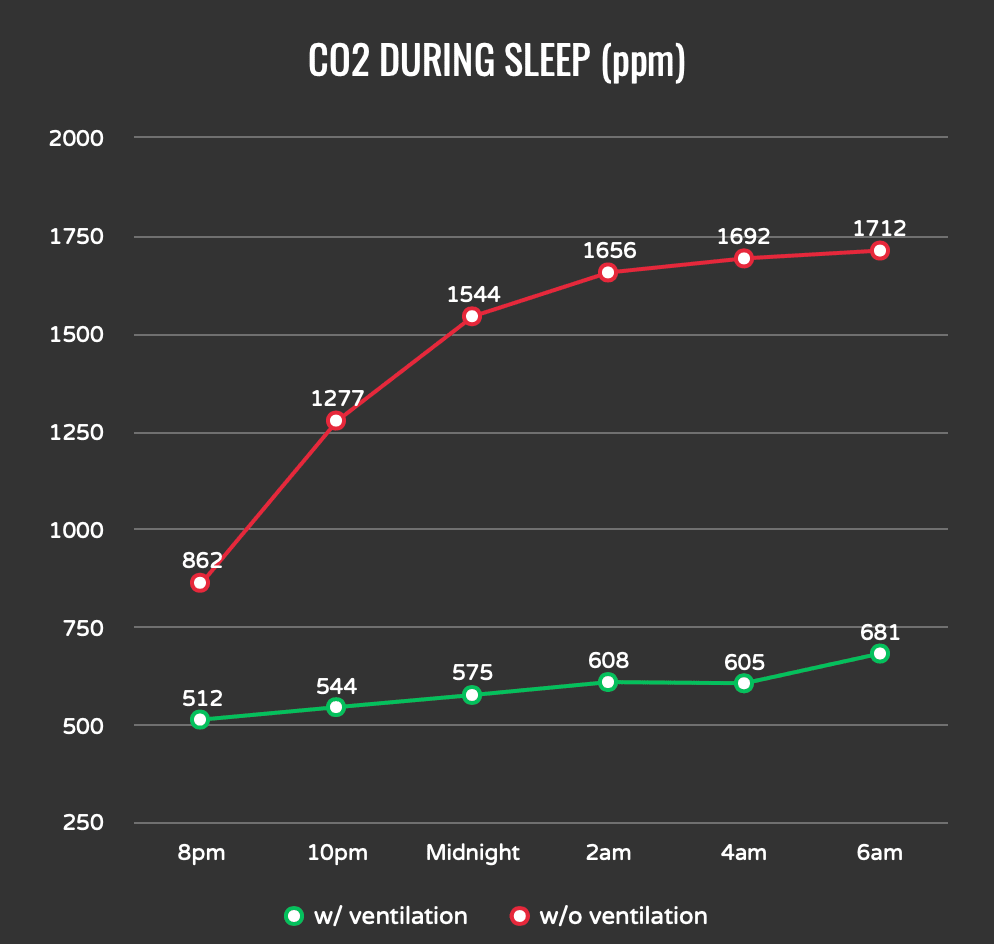
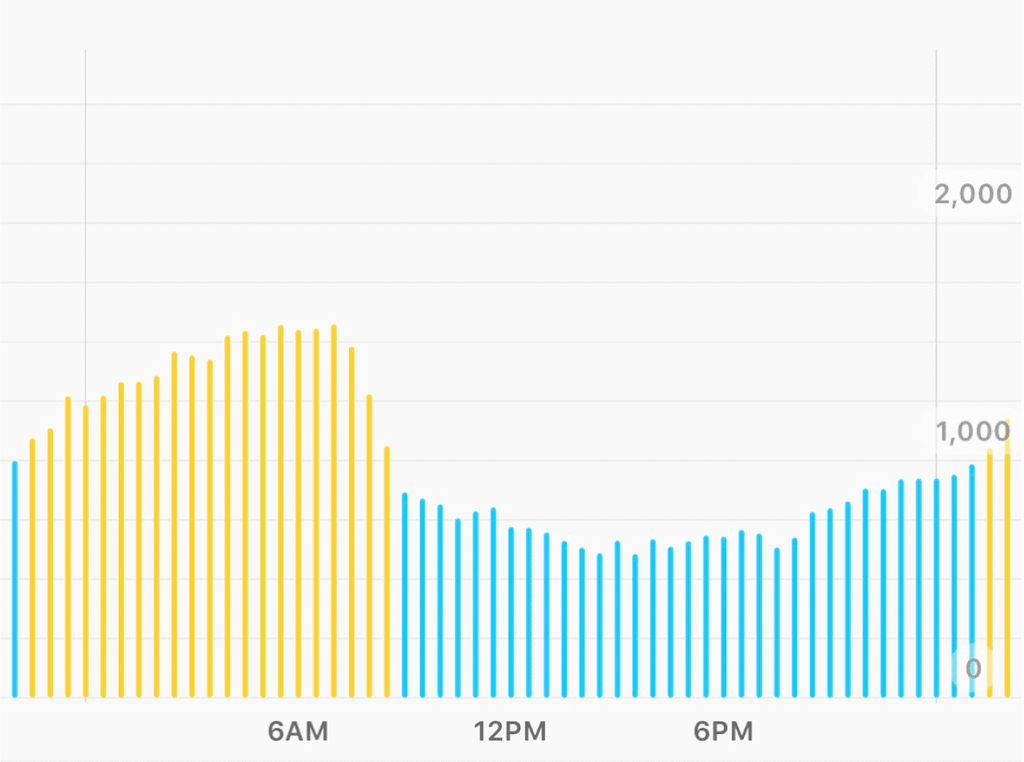
That said, it was still nice for us to see the problem first hand in our current, ERV-less house. We measured CO₂ and chemicals in our master bedroom during the night. We sleep with the doors and windows closed. As we saw in Why Air Quality Matters, high CO₂ levels can mess with you. And, as you can see in the graph, the CO₂ levels increased as the night went on. The dark graph is from Awair, and the second graph is from a Withings Smart Scale on a different night to verify the same pattern of increasing as the night goes on. Similarly, the chemicals increased along with the CO₂, going from 20ppb up to 244ppb.
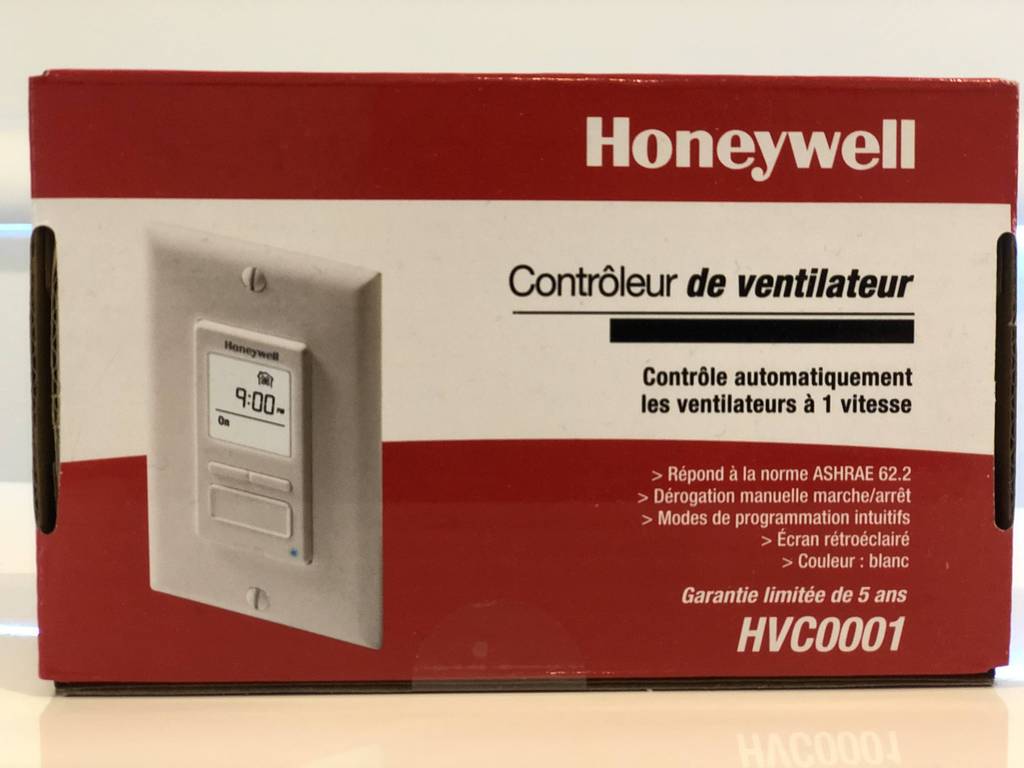
As a test, we slept with the window open to verify if CO₂ and chemicals levels would stay constant. They did. So, we found a simple fix – run the bathroom fan for a period of time every hour. Simply install a digital bath fan control, and schedule it for 15 minutes of every hour. This quick change produced the green graph line, and our CO₂ concerns are no more. Note: At first, we tried to program the AC unit to run the fan on a custom schedule, but did not have any luck. It’s worth looking into though. Either way, that gives you two potential options to easily fix the issue in your home.
There were two other observations we made during this experiment. First, ventilation also kept the humidity in check. It has the added bonus of running after we’ve showered even if we forget to hit the button. Second, Awair recommended that we lower the temperature a few degrees. It is probably placebo, but lowering the temperature from 76° to 72° during our sleep has seemingly resulted in fewer restless nights. We may try pushing for a lower temperature. To offset the electric bill, we’ve tried to make it warmer in areas we’re not using at certain times of day, and using the away functionality.
Sound Quality
Measuring sound is quite difficult. At first, we thought we could just grab a tool and be on our way. Turns out that it will be more in depth in the long run. That didn’t stop us from running a quick trial and error with the REED R8060 in our current environments though.
| Our Block House | Parents Block House | Parents Kansas House | |
| Living Room | 29.4 dB | 35 dB | - |
| Living Room w/ Sound Outside | 32 dB | 47 dB | - |
| Master Bedroom | 31 dB | 28.9 dB | - |
| Master Bedroom w/ Sound Outside | 40.6 dB | 39.6 dB | - |
| Master Bathroom | 28.3 dB | 30 dB | - |
| Master Bathroom w/ Fan Running | 44.9 dB | 57 dB | - |
Now, even if these measurements are flawed or don’t fully capture the sound situation, a few things can still be learned. For example:
- Better windows have better sound reduction.
- One master bedroom door has carpet underneath and the other has wood, but they both let equal sound in when music is played outside.
- Don’t buy a noisy bathroom fan.
By default, a Passive House will be quieter, which is a good start. However, being conscious of sound may make us consider our purchases against common sound levels. We’ll also want to solve real world problems in the house design like people walking above the basement bedrooms or keeping the kids rooms quiet during evening parties.
Electromagnetic Fields
In a future post, we’ll detail whether or not we think EMF precautions are worth it, and what those precautions are. We’ve touched on it a bit, but more detail is needed. Regardless, we’ll jot down some measurements for now to see if anything interesting stands out. First, let’s look at basic levels:
| Living Room | Outside Front Door | |||||
| Magnetic | Electric | RF | Magnetic | Electric | RF | |
| Our Block House | 0.5 mG | 0 V/m | .068 mW/m² | 1 mG | 0 V/m | .083 mW/m² |
| Parents Block House | 0.5 mG | 2 V/m | .033 mW/m² | 1.5 mG | 0 V/m | .03 mW/m² |
| Parents Kansas House | - | - | - | - | - | - |
If anything, those baseline measurements show us that our general living conditions are fine. They are well below and conservative caution levels. Our house, in particular, has a ton of IoT devices, so this is nice to see. Out of curiosity, we took a look at known offenders to see what they measure when standing 6" away. A few examples:
- Parents Electric Stove: 27 V/m
- Our Induction Stove: 851 V/m
- Parents Wireless Router: 8 mW/m²
- Parents Microwave: 42mG
All four of those are offenders, with the induction cook top being the biggest red flag. As expected, their levels drop off significantly and are safe within a foot or two. We were also curious about sleeping next to our phones, but it seems the iPhone radio was only reading 0.43 mW/m². Next up, we’ll take some outdoor measurements near the power lines and fields in Kansas. We know they exceed recommended limits.


