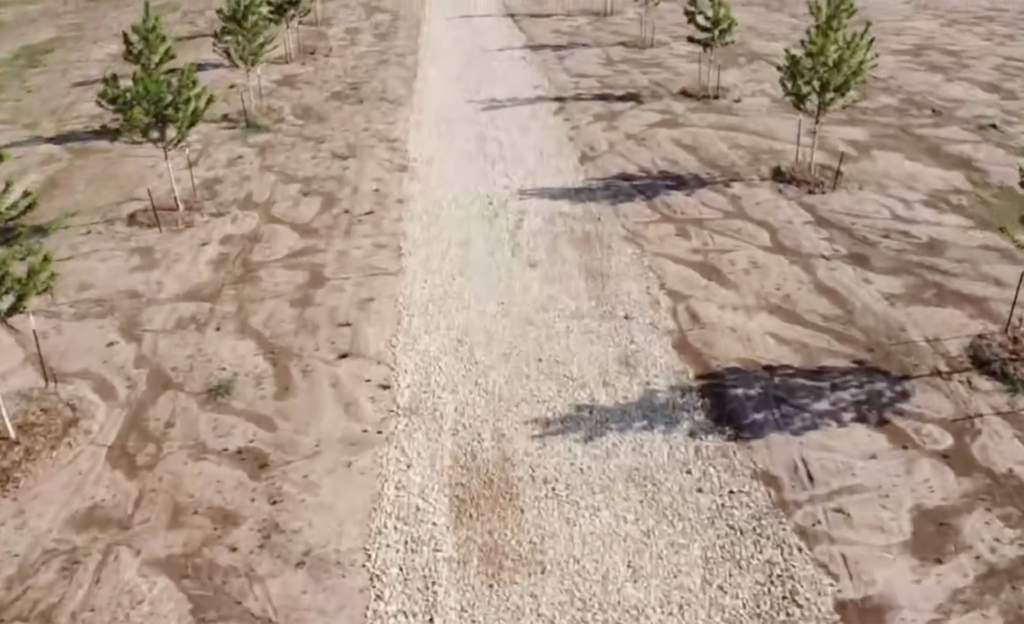
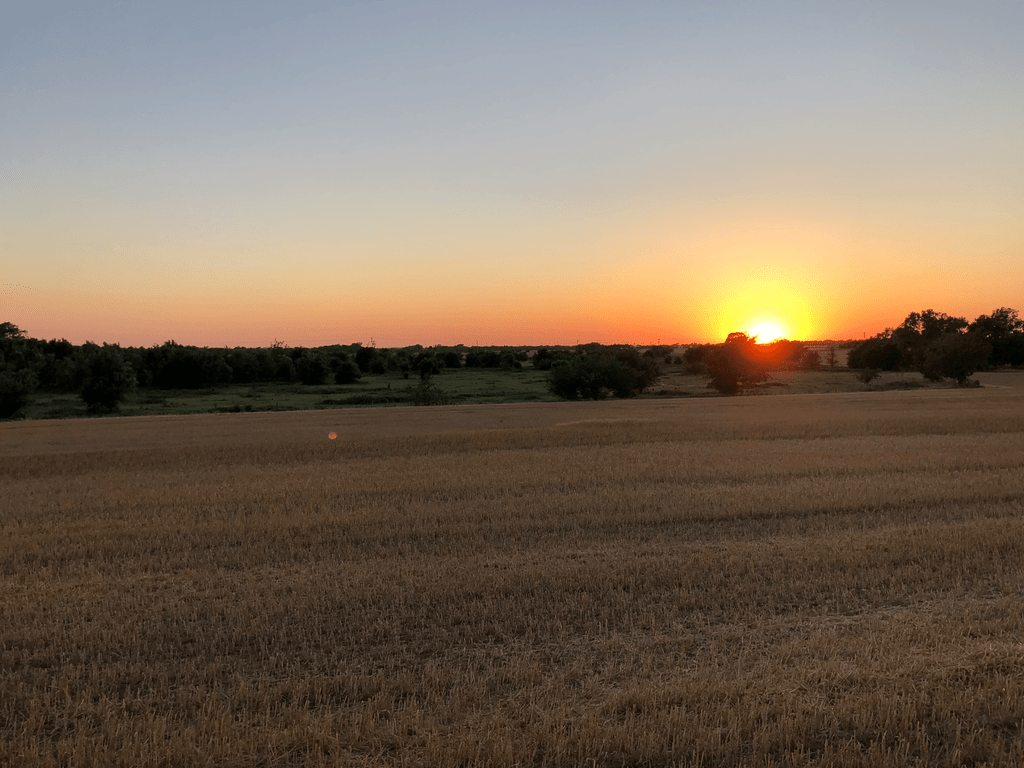
We’re doing things a bit backwards with this build. Since the road was near final grade, we decided to plant trees before the house began. The idea is, trees take their sweet time growing. If the whole build stretches out for 5 years, our trees will be five years ahead in the game. Fast forward to when we’re old, and we’ll be sitting under some seriously majestic trees in our backyard.
Sourcing The Trees
We started our tree hunt by ringing up various local vendors. If you’re into smaller trees, you’ve got a ton of choices. But, we were after something a bit more seasoned, around the 2-inch mark. So, the hunt began. Quick heads up, though – Googling “[Your City] Tree Farm” might not lead you to the green jackpot, at least not in our neck of the woods. So, be prepared to double down on your search efforts to really locate those hidden gem suppliers. Here are some numbers to show you why it matters:
- Small, local business. No advertising. $250 per tree.
- Slightly larger, mostly local business. $275 per tree.
- Larger business a bit closer to downtown. $375 per tree, and doesn’t include install.
In our case, ordering 30 trees can become a $3,000+ difference. We’ll also probably buy more trees in the future, so it’s worth searching for and establishing relationships with someone you’re happy to buy from over the years.
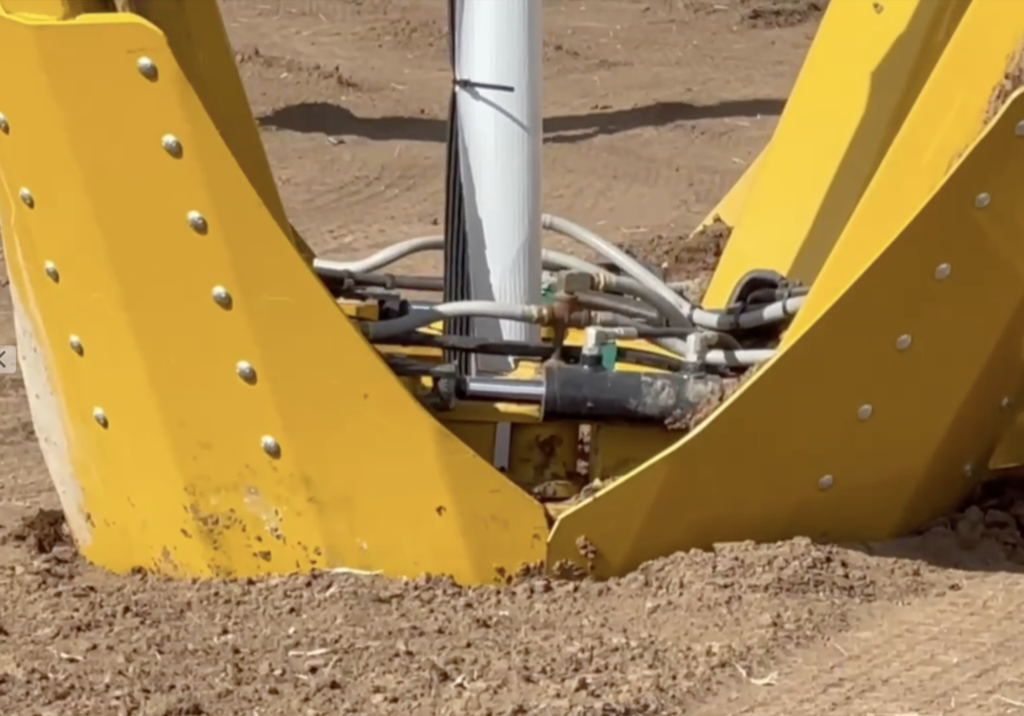
Related We found trees transplanted with a spade bit much easier to work with than balled & burlapped. Keep that in mind on your vendor hunt.
Planting The Trees
The actual process of putting the trees in the ground is mainly handled by the delivery truck, but there are a few steps that we still were responsible for. First up, we needed to mark out where each tree would call home. PlantingTree.com was our go-to guide on this. Take our Autumn Blaze Maples, for instance – we’re aiming for a cozy touch when they hit full growth. Since they can spread out up to 40 feet (20 feet on each side), we strategically planted them around 30 feet apart. This gives each tree some elbow room, reaching a solid 30 feet wide before their branches start competing.
With stakes in place, we began getting ready for delivery day:
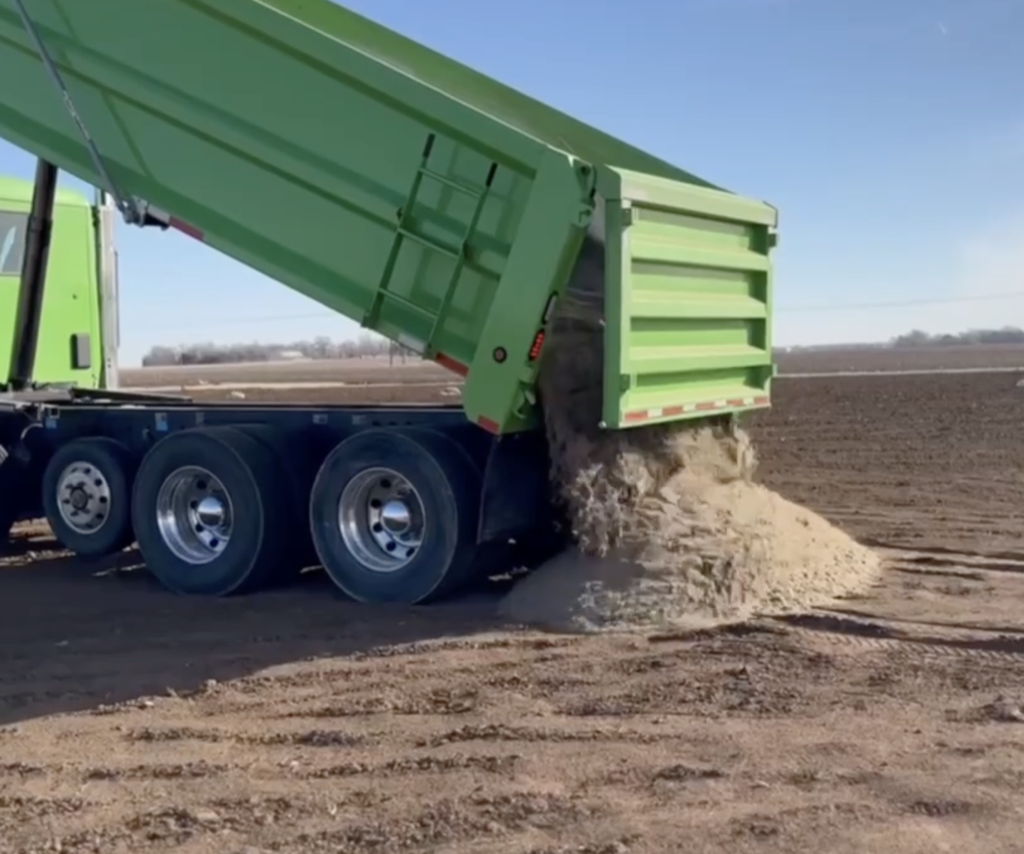
Sand on site for backfill.
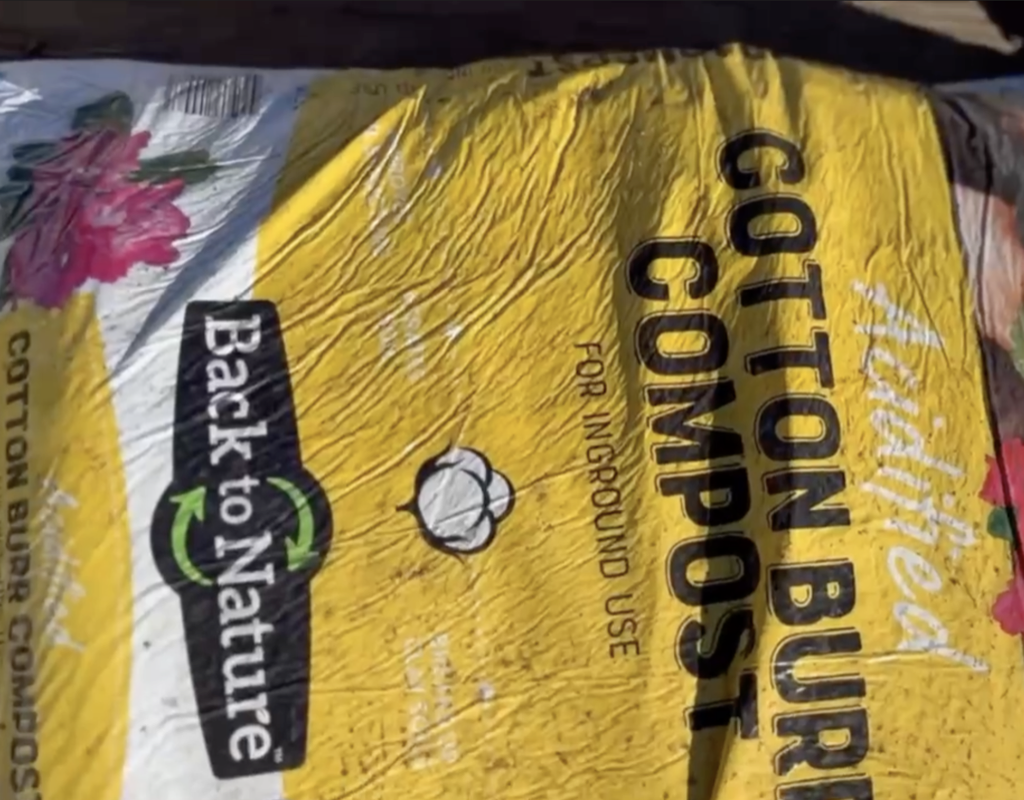
1 bag of compost for each tree.

Water to compact backfill.
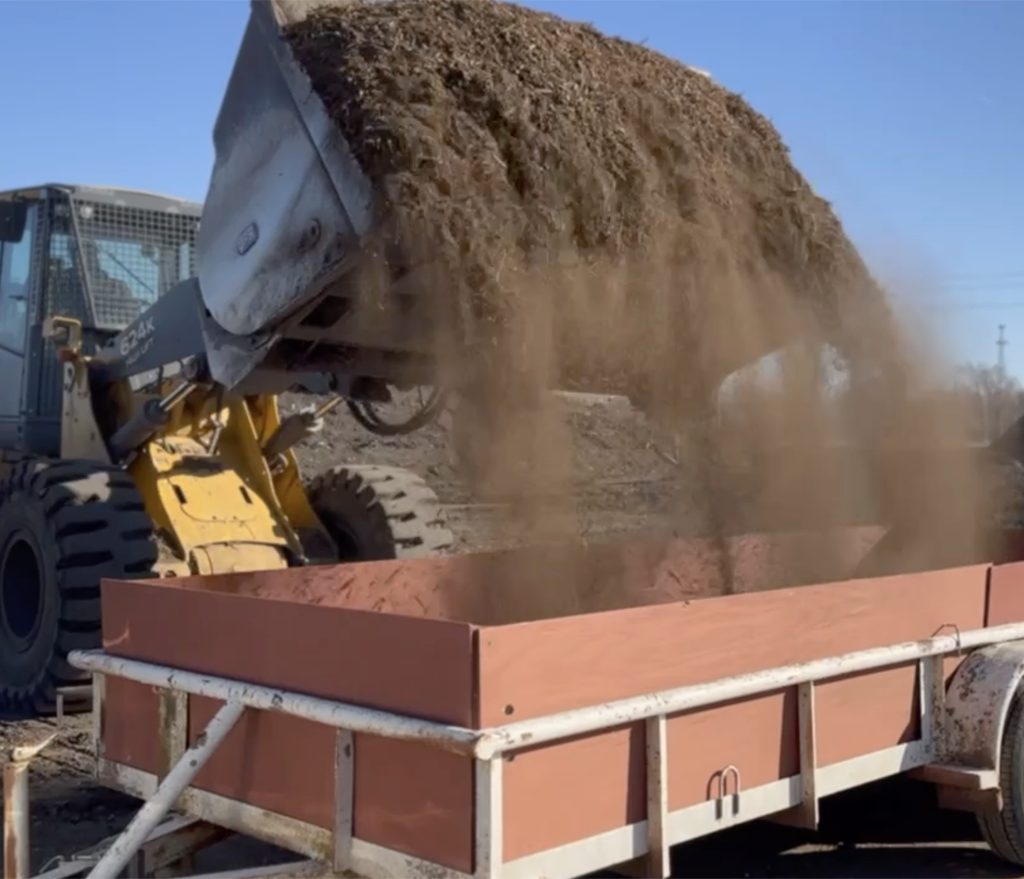
Mulch at the end.
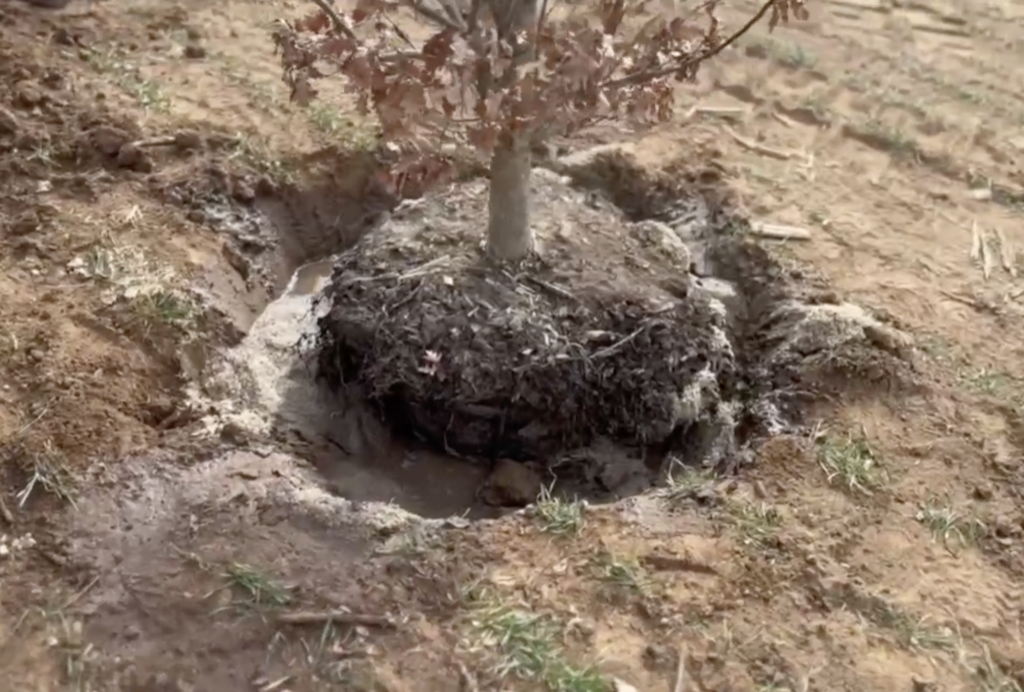
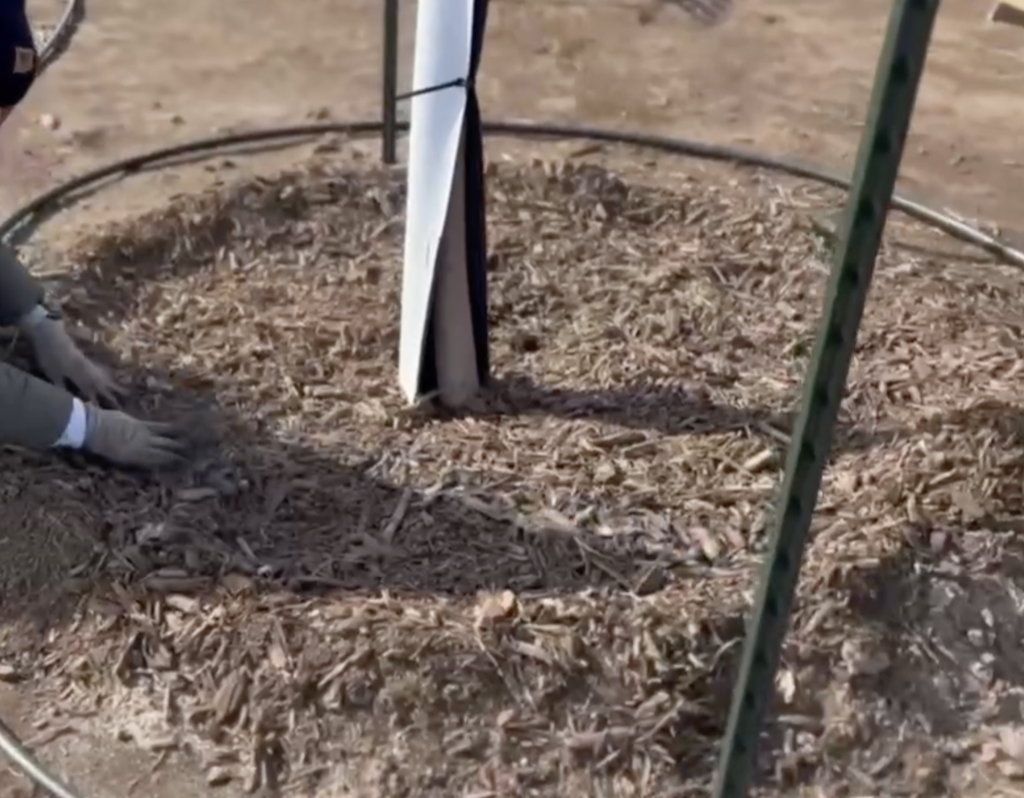
Planting each tree was pretty straightforward – pop it in the ground and fill up the hole. There seems to be debate whether or not compost is required, but our nursery recommended it so we went ahead and used it. After backfill, we mulched and watered each tree.
Important Make sure you backfill a little, then compact down with water, then backfill a little more, and so on. Try to remove air gaps.
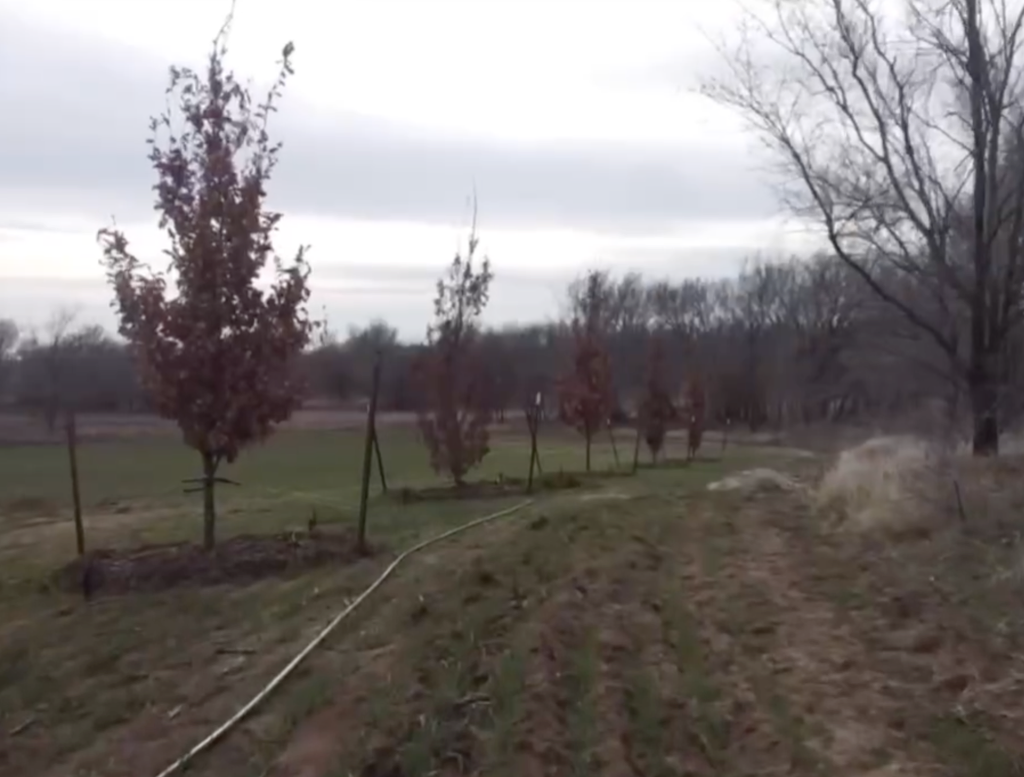
The end result is quite nice!
Keeping The Trees Alive
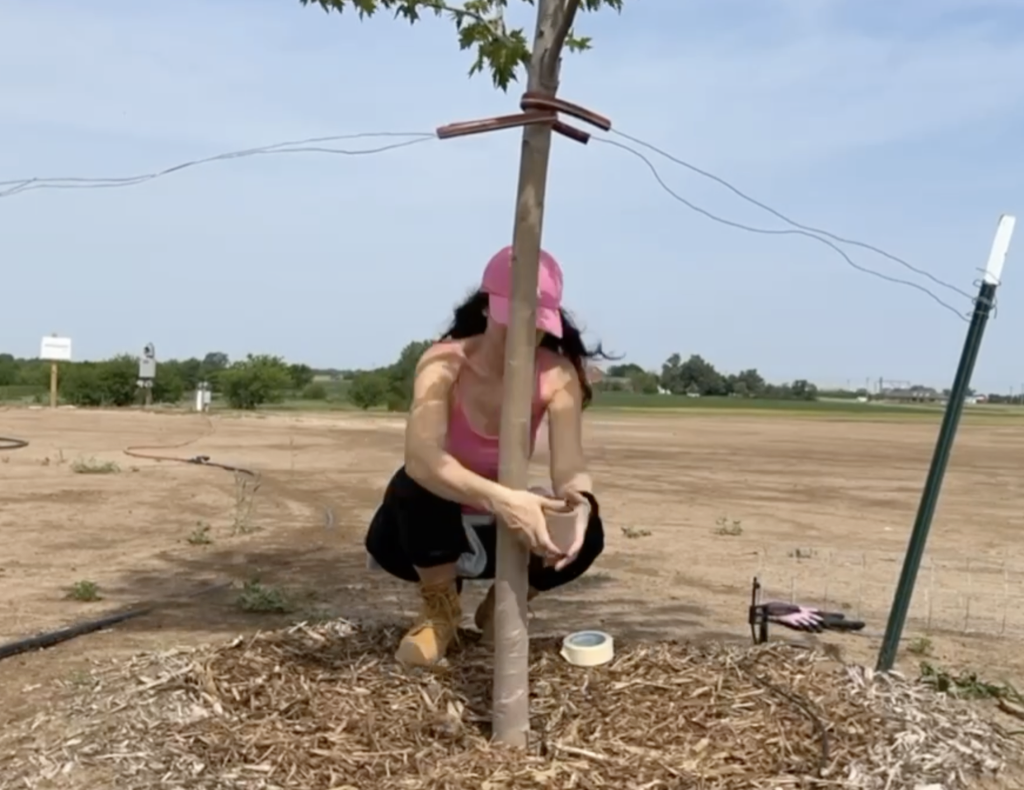
Perhaps the more exhausting part of the project was preparing to keep the trees alive. Even though mulch tree rings are also a contested idea, we still installed them. Talking with local farmers convinced us the insulating property of the mulch produces better results.
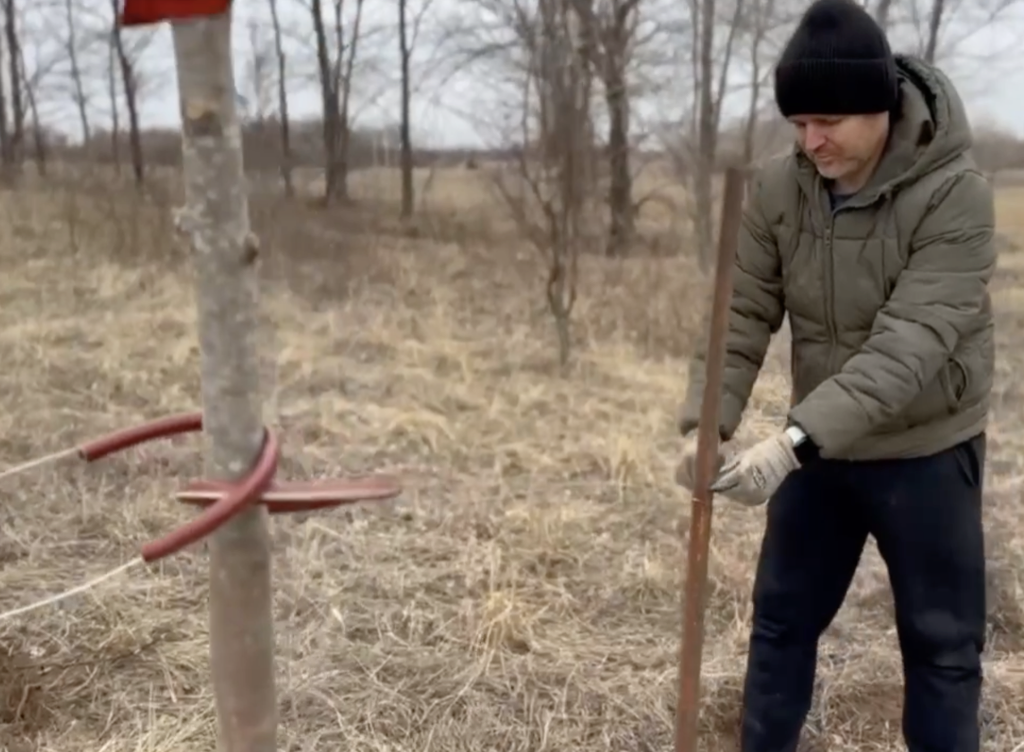
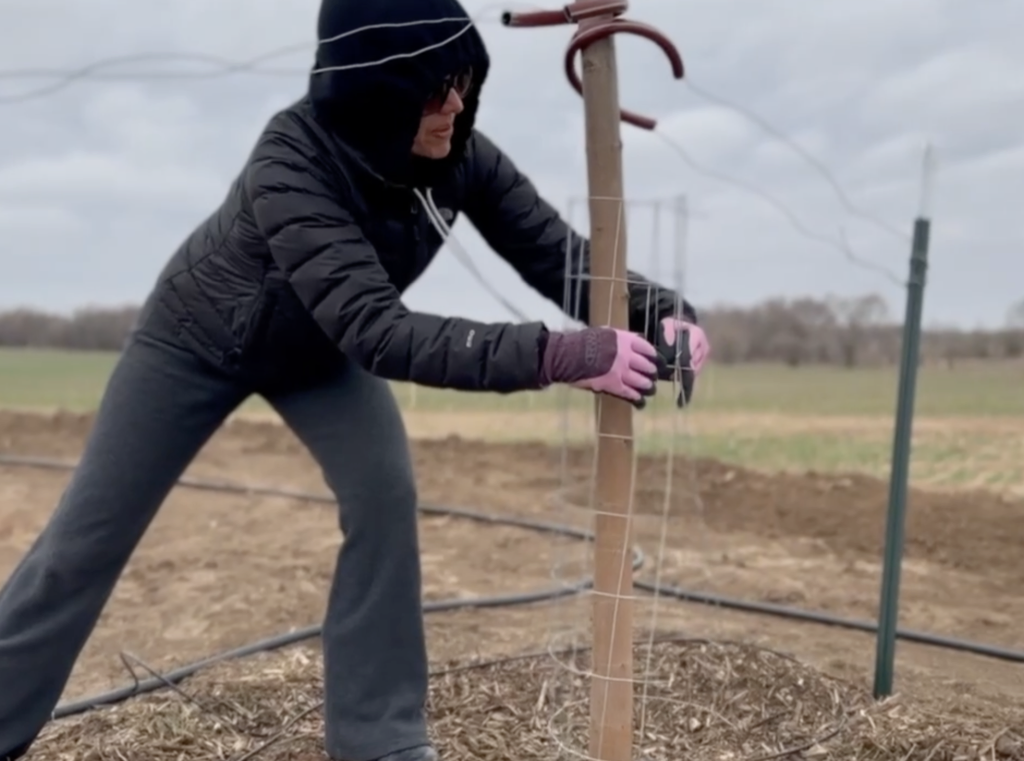
Similarly, it is controversial to use hose and wire to brace a tree, but we haven’t had any problem with that old trick. Every tree made it through without a scratch – well, almost every tree. There was that one who got uprooted, but turns out we should’ve stuck to three bracing points instead of just two. Lesson learned!
Important In windy areas, plan for 3 bracing points, or even 4 on larger trees.
And while tree wrap was only used on the maple trees, we did fence every tree against deer. It’s a good thing too, because they came out to explore almost immediately after planting.
Finally, for watering, we followed most guidance you would find in an extension office. Water daily for the first week, and then 2-3 times per week based on weather. A 3" tree would get 1.5 gallons per inch – almost 5 gallons each watering.


